Establishing our Kitchen Garden
THE ALICE MILLER KITCHEN GARDEN
Blog #1: In which we investigate and work on plans to improve our soil. (2.3.24)
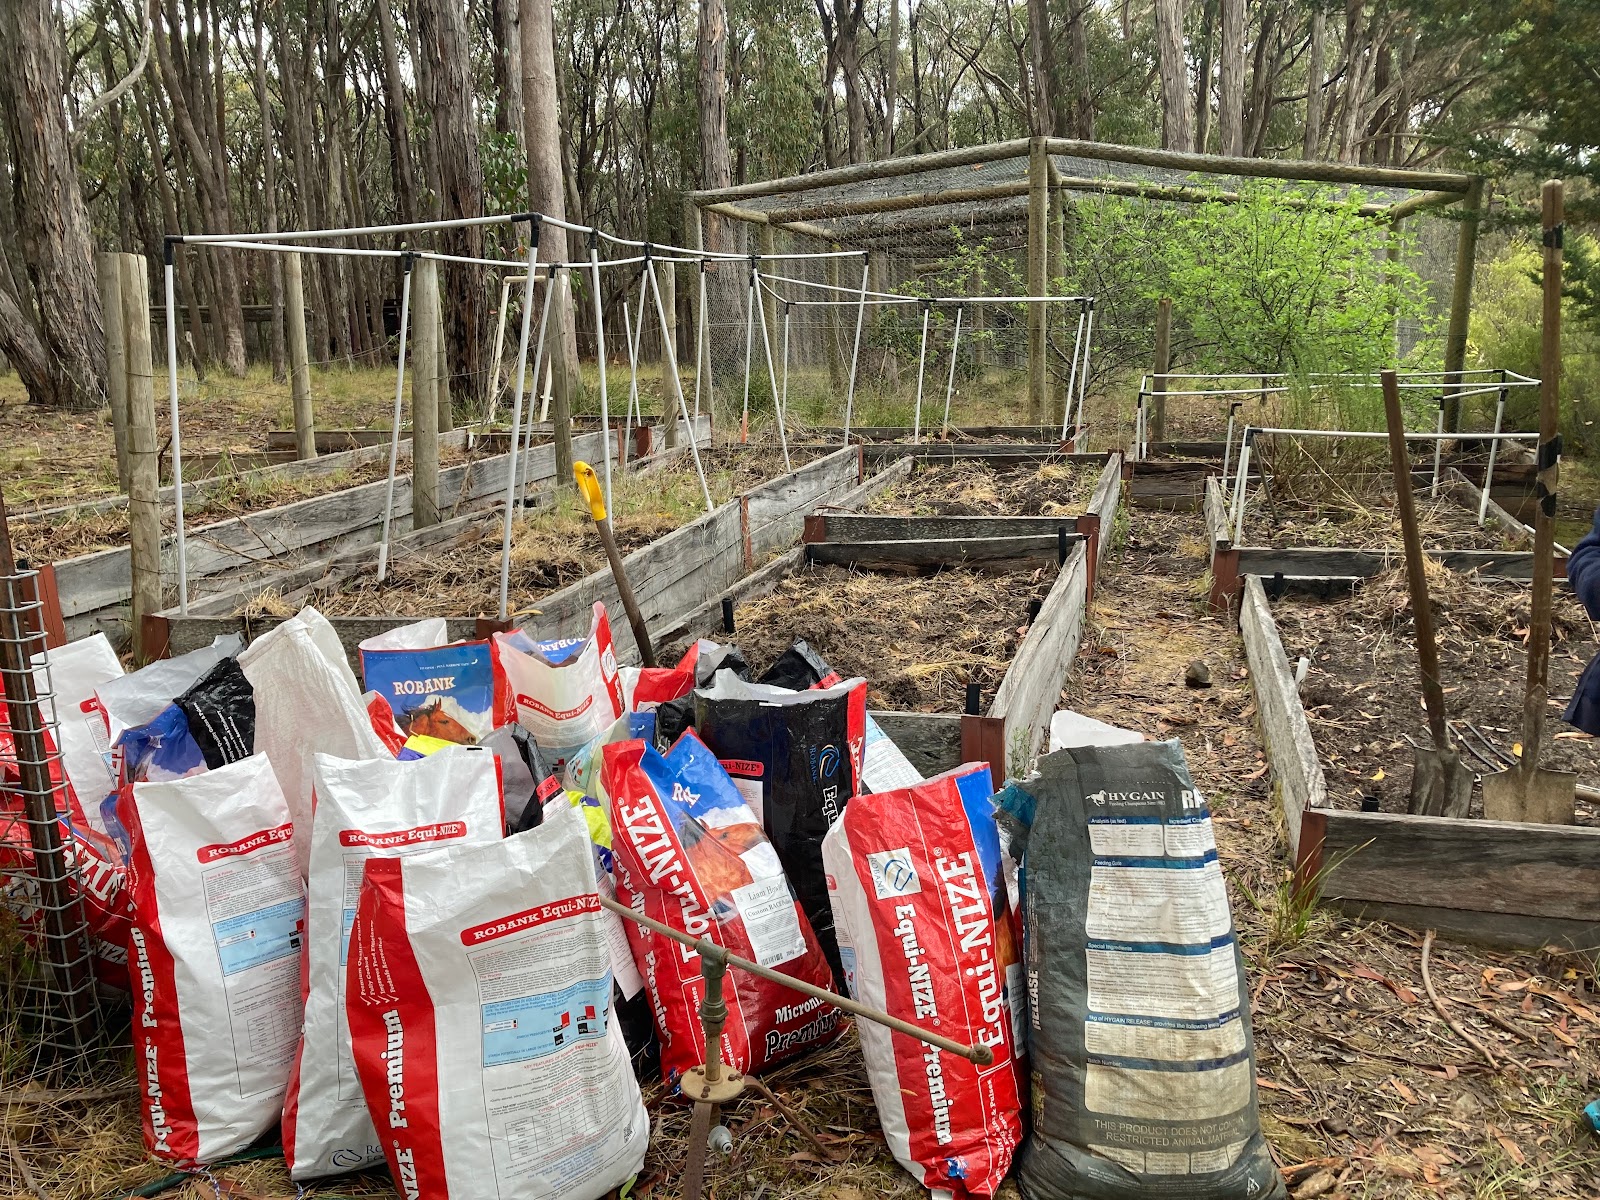
A Kitchen Garden is a place that revels in both function and form. It can be home to all sorts of lovely critters and can provide a space for both quiet reflection and community energy. We were lucky to inherit a space that had a lot of old infrastructure already in place. The previous owners of "the house" had clearly had a thriving vegetable garden, orchard and chicken run at some point in time. It's all been left to rack and ruin somewhat...but that's where we come in.
We aim to transform this area back into a thriving, abundant garden space that could grow over time into all sorts of things, limited only by our imaginations.
Our first task was to check out the soil. Soil is the key to all vegetable gardens. It seems to me that the original creators of this garden space once upon a time filled these beds with a sandy loam mix from a garden supply store. Over the years that have passed between then and now, any organic matter that was originally present in that soil has long gone and we're left with...sand. As I said to the class in our first lesson....that's not so bad. Sand drains really well, but doesn't have much in the way of water retention properties or nutrients - but we can fix that! In some ways, it's easier starting from this exhausted sandy soil than it would be starting with clay.
Rather than buying in a bunch of soil to get us started, I thought it'd be better to work with the students to gradually improve the soil over the seasons using various methods. We've discussed composting, manure, huegel culture, green manure crops and worm farms...and we've made a start on all of these things. More on these in future posts.
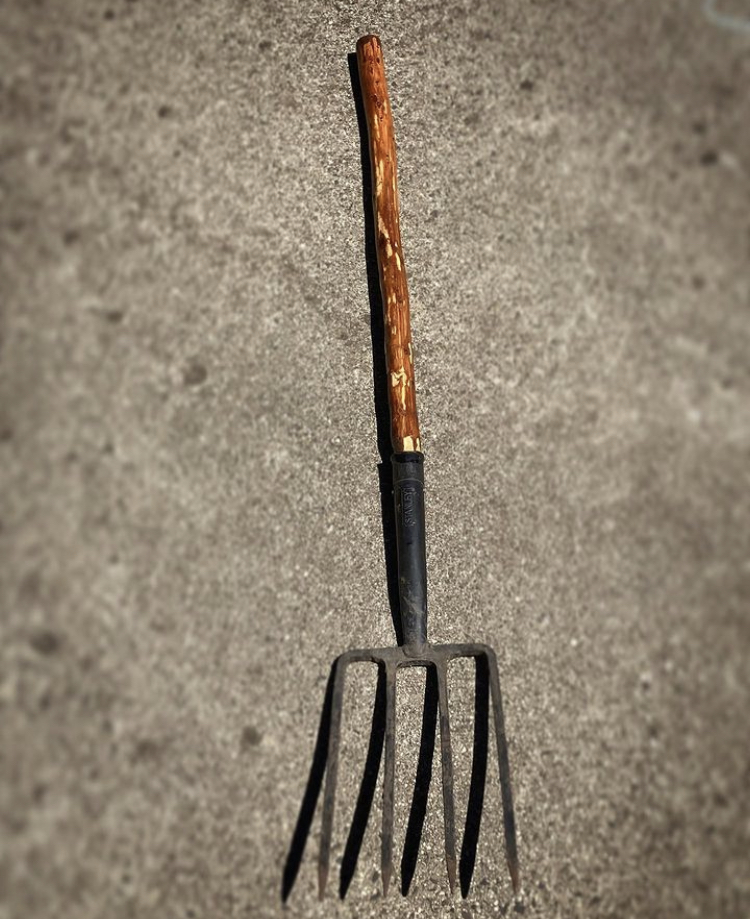
TOOLS
Other things that are free are old, "useless" garden tools. I love restoring things like this. So we've decided to save our pennies and restore as many old tools as we can for our use in the garden.


Comments
Post a Comment